Cloning a BLE device
There are several reasons to clone a BLE device, including:
- Understand the BLE communication without the need to get expensive or unavailable equipment.
- Test mobile applications on simulated hardware (optionally adjust the hardware behaviour).
- Prototype and test tools in a stable, repeatable lab environment.
- Capture BLE communication from the application / remote controller on the simulated device (no need for a sniffer).
- Remove link-layer pairing: in case the original device requires Bluetooth pairing/bonding, the simulated device may strip it and the app will not notice.
- Attack the mobile application or remote controller by simulated malicious device.
- and more.
Demo of this process: https://youtu.be/P2PpG7c-kuE
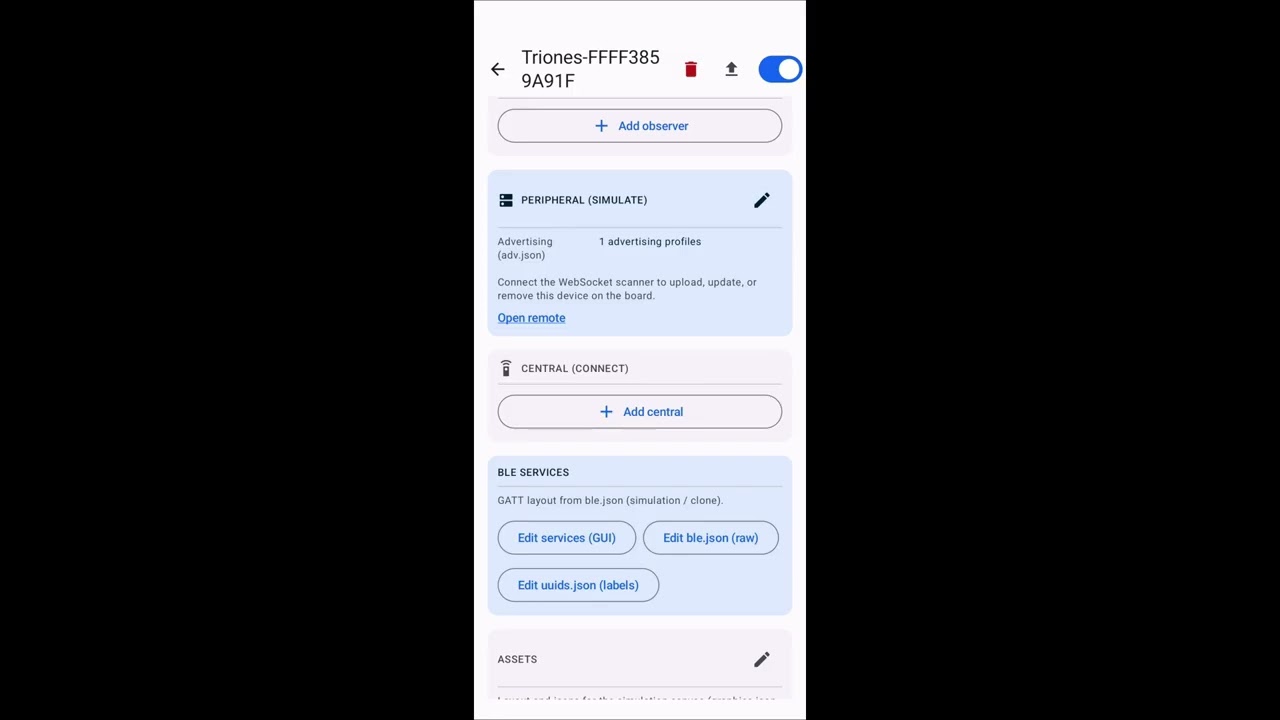
1. Scan the original device
In order to clone, we need first to scan the original device. The scan consists of:
- advertising data
- “profile” (services + characteristics) - for connectable devices
The scan can be performed using an Android phone - which in most cases is enough, despite the mobile OS stripping some low-level details. A scan using external ESP32 provides more detailed data - which might be useful among other things if we want to keep the exact ATT handles as the original device (e.g. when we want the phone that created a GATT cache of original device to work with the clone as well).
| feature | local scan Android | remote scan ESP32 |
|---|---|---|
| Advertising data | Both adv_ind and scan_resp combined in a single packet | Each low level packet is separate |
| Services + characteristics | Missing ATT handle numbers and pairing information | Handle numbers, pairing details |
Advertising data
The advertisement is by default (possible to adjust in settings) saved automatically in the Capture History (adv.json) once you just tap on the device in the scan results.
For devices that rotate various advertising payloads the resulting file will contain matching advertising profiles.
In many cases, when we just want to clone the device presence broadcast (e.g. simulate a beacon), the advertising data is enough to simulate, and you can create device library entry from it.
Services + characteristics
To clone connectable devices we will also need to scan the original services. The ble.json file is created in the Capture History automatically once you connect to the target device and perform “service discovery” - a process automatically performed after connecting, usually takes several seconds. If you see the services list after connecting it means the discovery has finished correctly.
For a more complete simulation, if you would like to clone also the characteristic values, you would also need to read them. This can be done manually one by one in the services browser, but also using a script: read device info will get just the Device Information service if available (model, serial, manufacturer, …). The read values script will attempt to read all possible characteristics. In some cases (when it encounters a protected characteristic) it may trigger a pairing request.
2. Create “device library” entry
You can access the scanned device directly from the scan results, by expanding “Capture” and tapping “View capture files”. Optionally select “Capture History” from the top left hamburger menu.
In the Capture History details of your selected scan, tap on the “Create device library entry”. It will automatically create a local device based on the scanned data. The simple profile created automatically from the scan will serve just the static value for the characteristics that were read - which in many cases is enough. It will also automatically trace all incoming “write” packets from the connected application.
You can edit the entry details:
- in the “Peripheral (simulate)” section: advertising profiles (
adv.json) - by default uses the cloned address and the same payloads - in the “BLE services” section: edit the services/characteristics (
ble.json) - adjust the values, add dynamic hooks, … - optionally helpers in
assets(including graphics, buttons, …),vars.jsonoruuids.json
For a more complex functionality - for example to simulate a proprietary protocol with dynamic responses - you will need to create a LUA script. Probably the easiest way to do it is by reverse-engineering the application with agentic help.
3. Upload the new device to ESP32 for simulation
In the Remote tab connect to ESP32, select “Sim” and “Upload from Device Library”, then your new device. Press the “play” icon to start the simulation.
The application connects to the cloned device exactly as to the original one:
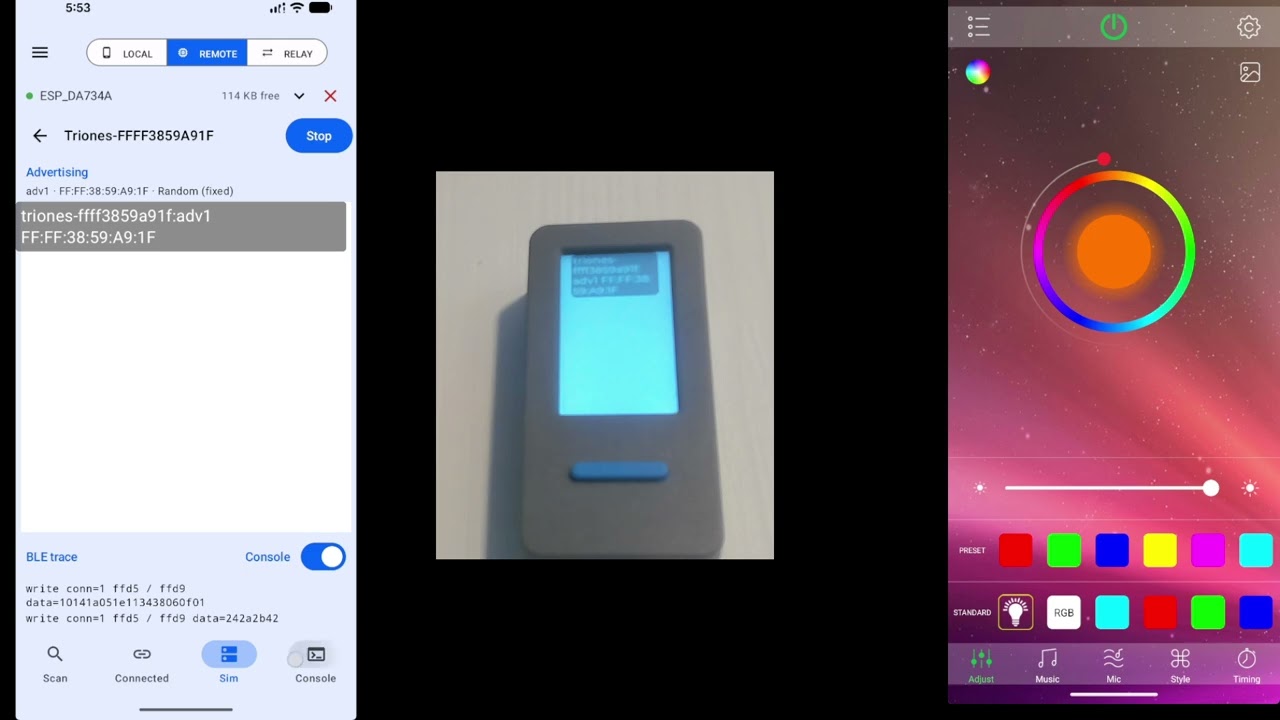
You can find the full version of this device (“Happy Lighting”), including graphics, observer and central roles in the device library repository.