Flashing and setup
Flash using Android mobile application
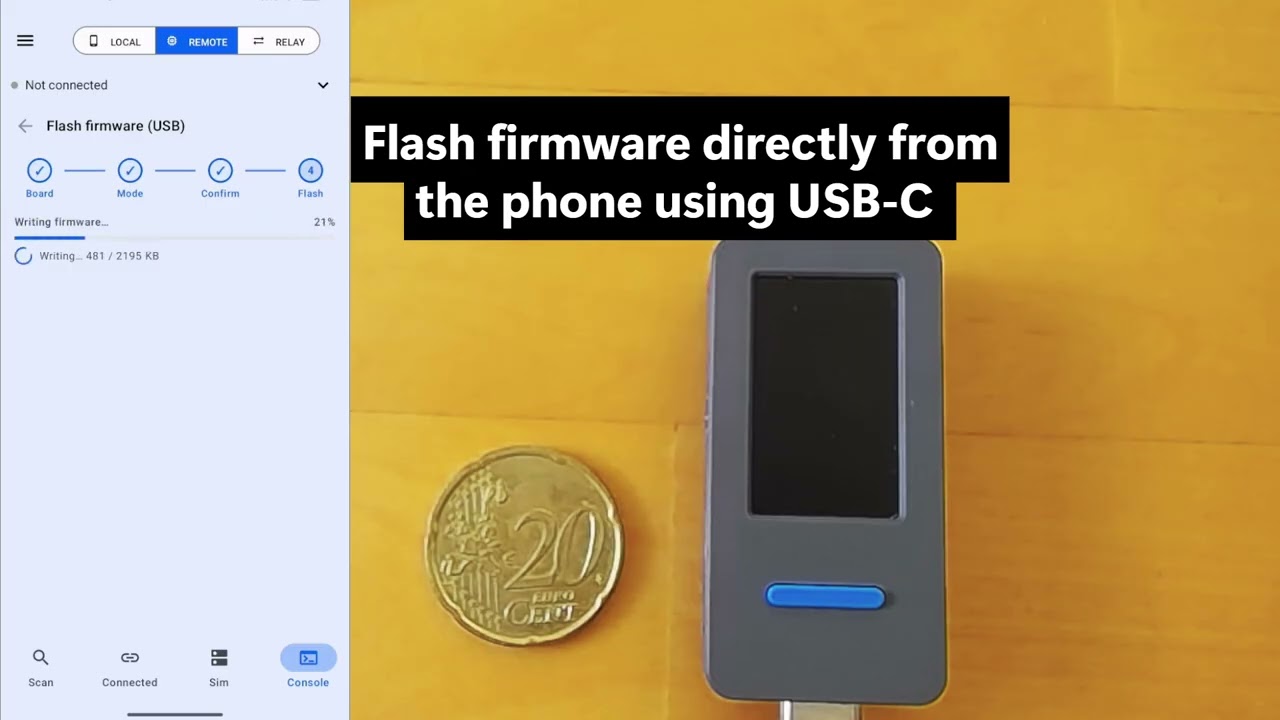
In the “Remote” tab select “Flash firmware via USB”. Connect the target board in bootloader mode directly to the phone’s USB-C port:
- generic boards usually hold “boot” button while plugging
- Lilygo T-QT-Pro: hold left button while plugging
- M5StickS3: hold left button until the LED blinks You will be asked to grant access to the external. If you see “No USB device or permission denied” you need to plug it again. In case there are errors during the flashing process - try a better USB cable.
After flashing reset the device to exit the bootloader mode.
Web flasher
You can flash the firmware via browser using BLESPloit dedicated web flasher.
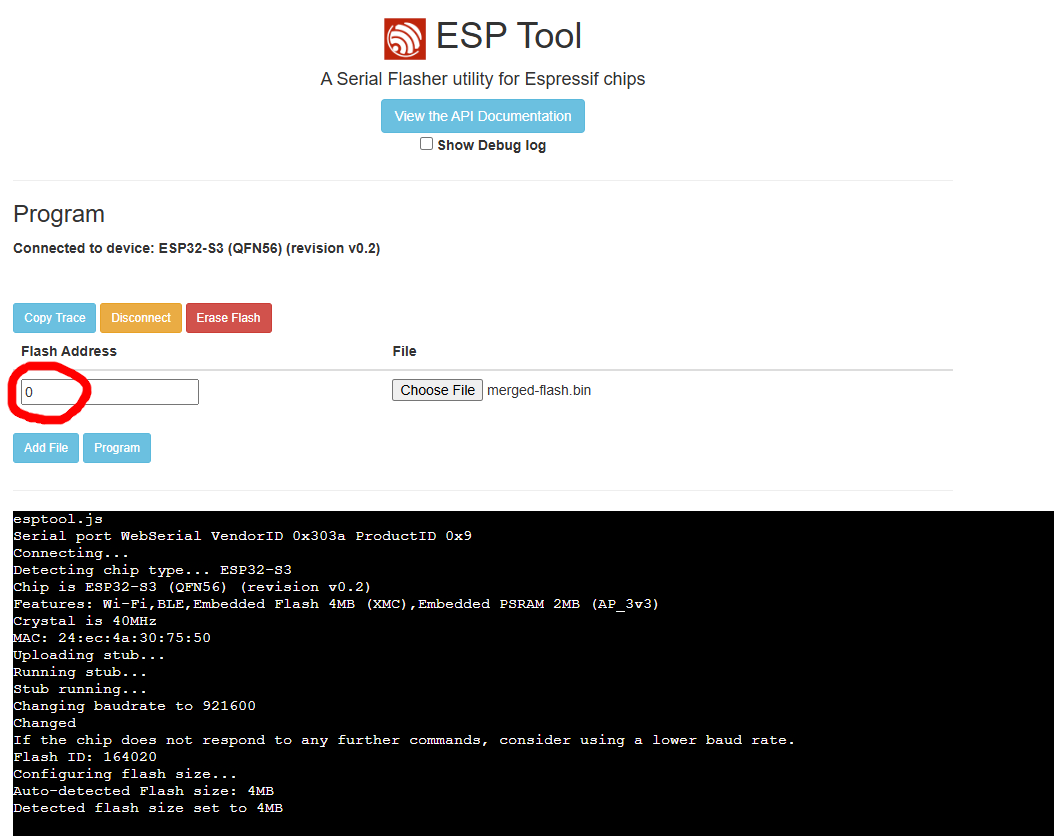
In case it does not work for you, you can also try esptool js web interface. Use this procedure for first flashing over the default factory image, or if you don’t mind wiping the configuration (wifi settings/device library).
- Connect the device to USB.
- Open https://espressif.github.io/esptool-js/ in a browser.
- In the “Program” section leave the default 921600 baud rate and select “Connect”.
- In the popup dialog select “USB JTAG/serial debug unit” and “Connect”. You should see “Connected to device: ESP32-S3…”, and in the console section below the connection debug logs. If it stops at “Connecting…” or ends with an error, try connecting in bootloader mode (hold the left BOOT button while plugging the device to USB).
- In the “Flash address” field, substitute the default “0x1000” with “0”.
- Use “Choose file” to upload a precompiled merged flash image. Hit the “Program” button and you should see the flash upload progress logs in the console.
Flash manually
It is also possible to flash the firmware manually, for example using esptool or esp-idf.
Download the binary release files from GitHub releases or build actions artifacts and flash at address 0x0 the full “merged” or addres 0x10000 the “application only”.
Wifi setup
After flashing the device starts in WiFi AP mode, with ssid BLESPlo.it_AABB (where AABB are the last digits of MAC number), and password: BLESPlo.it. You can alter these settings (change AP credentials or connect as STA to your own network) via web interface http://192.168.4.1, or using the USB serial console. Note: ESP32S3 supports only 2.4GHz WiFi.